When Should You Format MircroSD Card on Your Mac?
Before we learn how to format microSD card on macOS, we must know when should we do it. Here are some examples:
- You want to change the file system on the card to a compatible format for your Mac
- You are experiencing issues with the card such as errors, corruption, or slow performance
- You want to erase all the data on the card and start fresh
- You want to prepare the card for use with a different device or operating system
Before formatting, it is important to backup any important data on the card as the format process will erase all information stored on it.
If you’re using Android, read this article instead – [Steps] How to Format MicroSD Card on Windows 11 (2023)

Here is a detailed step-by-step guide on how to format a microSD card on MacOS:

Step 1: Connect the microSD card to your Mac
Insert the microSD card into a card reader or connect it to your device that has a microSD card slot.
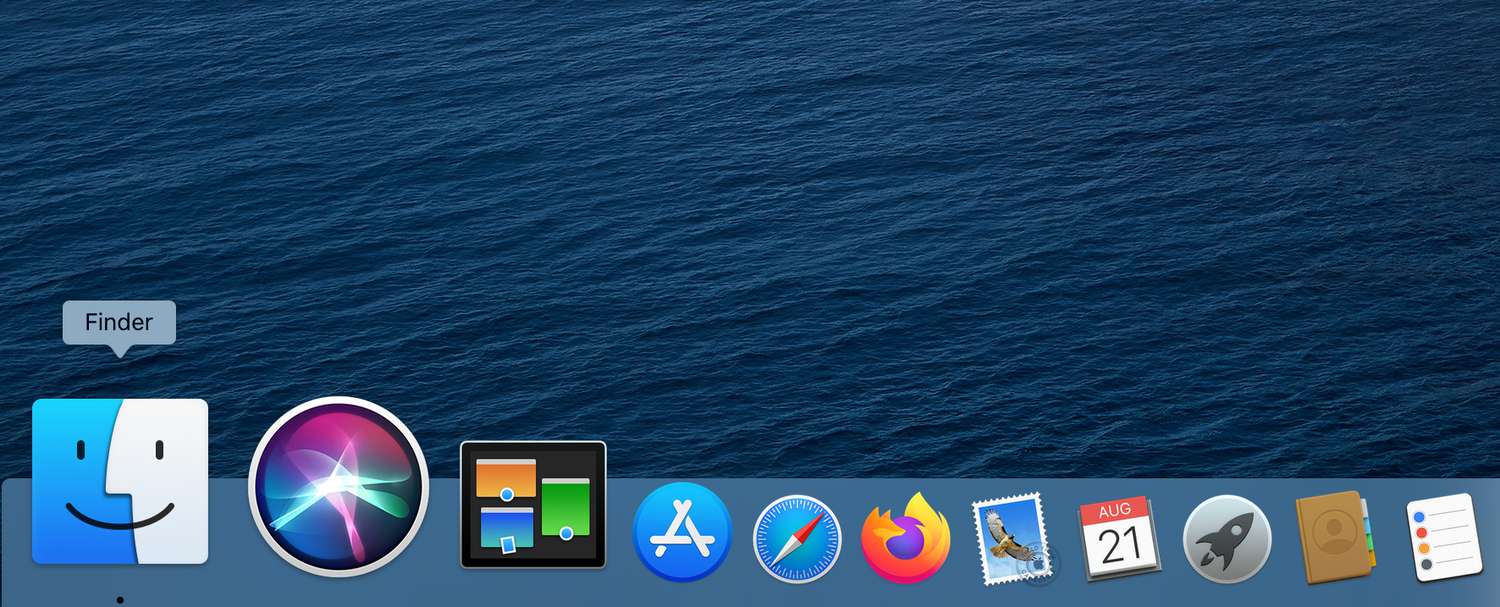
Step 2: Open Finder
Open Finder on your Mac, and the microSD card should appear under the “External” section on the left sidebar.

Step 3: Right-click on the microSD card
Once you have located the microSD card, right-click on it and select “Eject” to safely remove the microSD card.
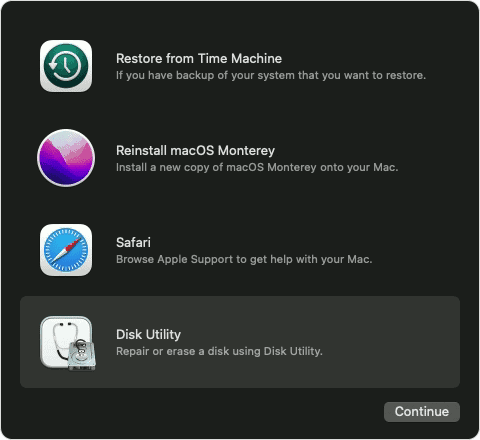
Step 4: Open Disk Utility
In the top menu bar, select “Go” -> “Utilities” and open Disk Utility.

Step 5: Locate the microSD card
In Disk Utility, locate the microSD card. It should appear under the “External” section.
Step 6: Select the microSD card
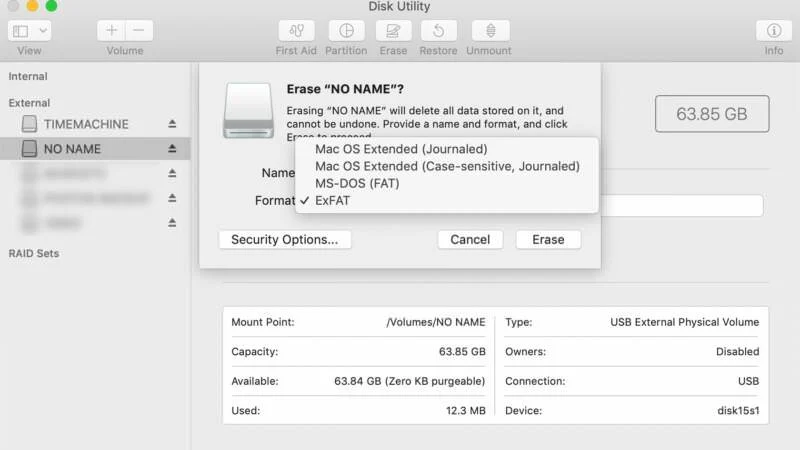
Once you have located the microSD card, select it and click on the “Erase” button.
Step 7: Choose format
A new window will appear, where you can choose the format for the microSD card. The options are MS-DOS (FAT) and exFAT, it is recommended to use exFAT if you want to use the card on different devices and operating systems.

Step 8: Give a name to the card (Optional)
You can give a name to the microSD card, this will help you identify the card in the future.
Step 9: Click on the “Erase” button
Once you have made all the necessary selections, click on the “Erase” button to begin the formatting process.
Step 10: Wait for the formatting to complete
The formatting process may take a few minutes to complete, depending on the size of the microSD card. Do not remove the microSD card from the computer or interrupt the formatting process.
Step 11: Check the microSD card
Once the formatting is complete, open Finder and check the microSD card to make sure it has been formatted properly. The microSD card should be empty and ready to use.
In Conclusion: Format microSD card on macOS
Formatting a microSD card is a simple process that can be done in a few steps using Disk Utility on MacOS. By following the steps outlined in this guide, you can format your microSD card and get back to using it as normal. Keep in mind that formatting a microSD card will delete all the files and data stored on it, so be sure to backup any important files before proceeding.
If you need assistance formatting your storage device, you should consider contacting CBL Data Recovery. We have a team of experts who are well-equipped to handle all of your data recovery and formatting needs and provide you with outstanding service.


